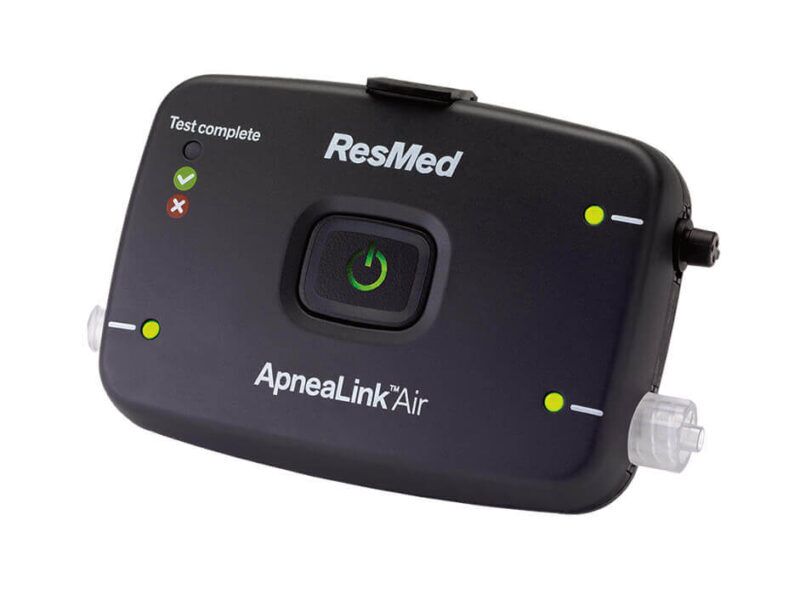
ResMed ApneaLink Air provides performance and reliability in our most compact, lightweight, and easy-to-use home sleep testing device ever. A cost-efficient, type III home sleep testing device, the ApneaLink Air is capable of recording up to five channels of information: respiratory effort, pulse, oxygen saturation, nasal flow, and snoring
Key features
- Efficient. ApneaLink Air works seamlessly with AirView™ to provide a comprehensive diagnostic software solution, empowering sleep labs to efficiently manage each step of the process.
- Detailed. ApneaLink Air differentiates between obstructive and central apneas, as well as CSR probability detection.
- Effective. By streamlining access to apnea treatment, the device can help expand the number of patients your lab can accept.
- Configurable. Analysis parameters allow adjustment of thresholds.
- Intuitive. Designed to make home testing easy, the one-touch stop/start operation and completion light make it clear to patients when the evaluation begins and ends.
- Accurate. You’re provided with a clear diagnosis and effective reports that meet AASM and CMS definitions for hypopnea scoring guidelines.
- Comprehensive. Includes body positioning calculation to determine AHI when supine, side-lying, prone, and upright.
How to Use Resmed ApneaLink Air?
Online videos and written instructions are included with the ApneaLink Air. Your doctor can provide you with more information if you have questions about how to set up and use this test. You may be able to walk away with the device after they have walked you through the procedure.
Step 2:
Two AAA batteries are required to operate the ApneaLink Air. After installing the batteries, slide the device as well as the effort sensor on the belt according to the instructions.
Step 2.
Then, unscrew or remove the protective cap from the nasal cannula. Insert the end as directed into the device and then turn the connector clockwise.
Step 4:
Connecting the effort sensor to the Resmed Apnealink Air is as simple as removing the protective cap and inserting it into the device in the indicated manner. Then, turn it clockwise until the sensor is secure.
Step 4.
Attach the cable to the oximeter. Attach the belt clip on the oximeter once this has been done. You should then be able to push the cable in the device.
Step 5
The belt can be put on by sliding the free slot of the effort sensor. Make sure the belt is tight but not too tight in the middle of your chest.
Step 6
As per the instructions, attach any extra accessories. All accessories must be secured but not too tightly.
Step 7
Press and hold the middle button until it turns green. If everything is correctly connected, the indicator light on the device should be green. The red light indicates that the accessory must be adjusted or reattached.
Step 8
As you would normally, sleep as normal. Press the center button three times for three seconds when you awaken in the morning to stop the test. The green light means that the test has been completed. If the light is red, there has been an error and you need to speak with your doctor about repeating this test.
Contents Of The Box
- Resmed Apnealink Air Device
- 3 Nasal Cannula
- Reusable Soft Oximeter Sensor
- Xpod SPO2 Oximeter
- USB Cable
- Respiratory Effort Sensor Belt
- Apnea Link Carry Bag
- 2 AAA Batteries
- Support Documents
Warranty – 2 Years
Country Of Origin – Australia

Reviews
There are no reviews yet.